FAQ: CRM
On this page, you can find questions and answers about the CRM area. We are continuously adding more questions and answers to this list.
1. Addresses
You want to manually create a new contact but the desired country is not available in the Country drop-down list?
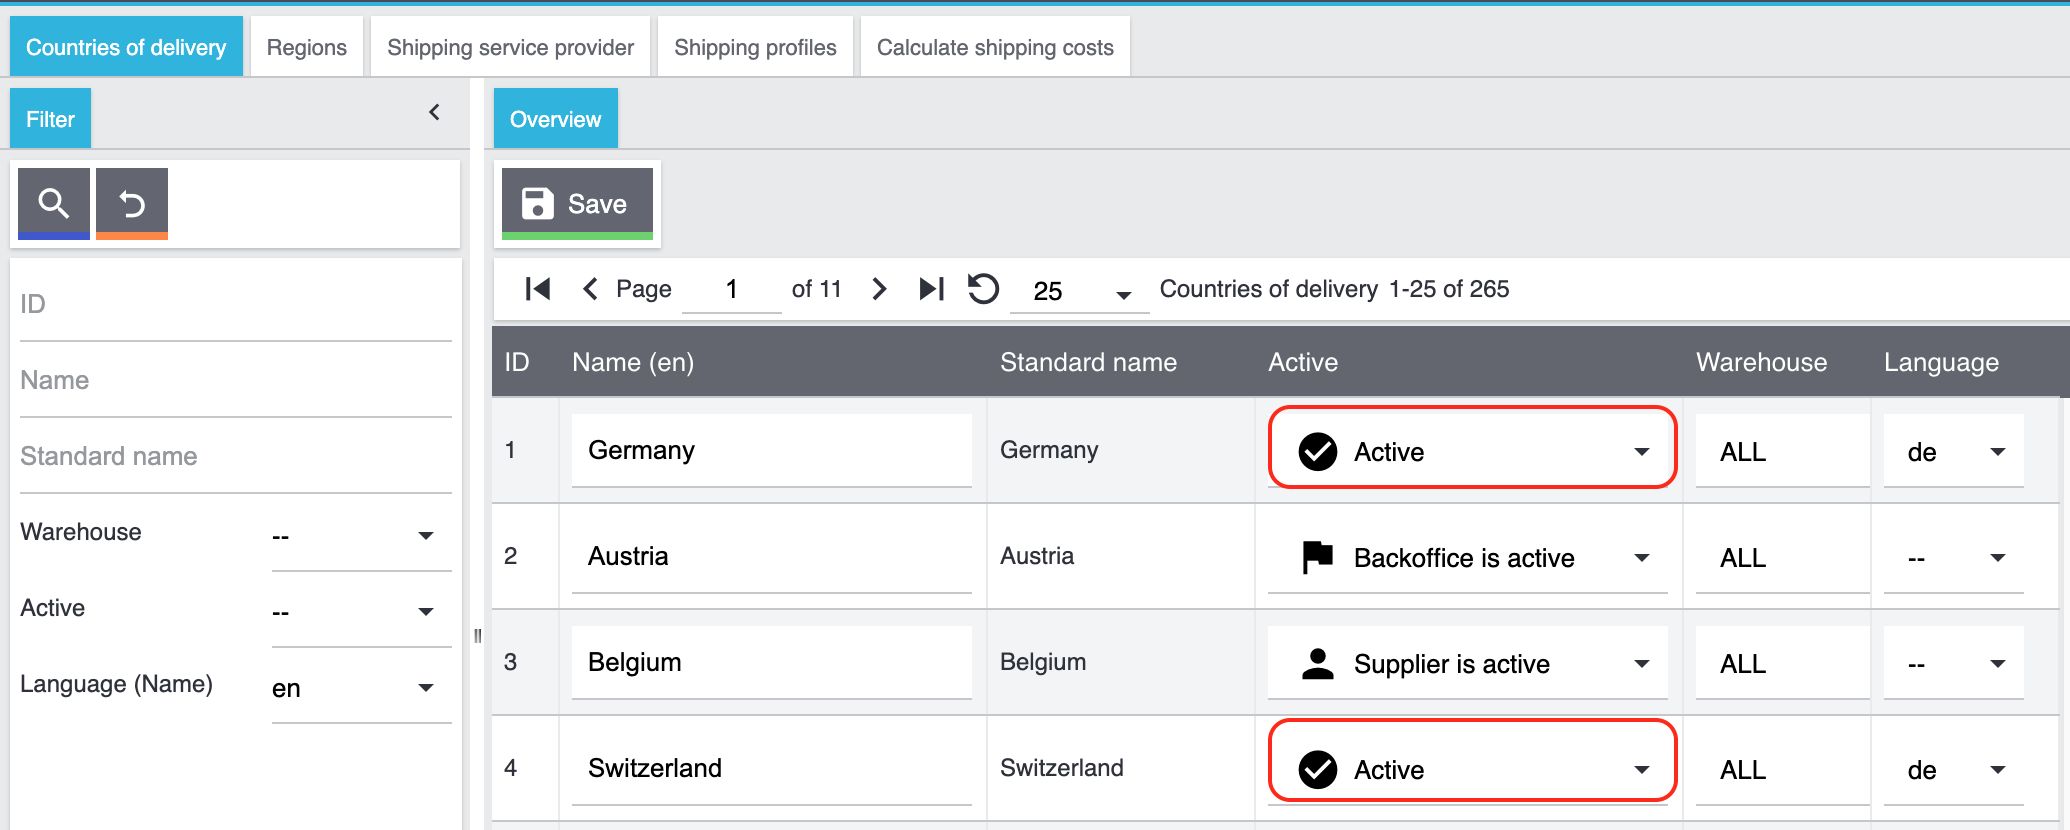
In order to be able to select the country from the drop-down list in the contact data record, you have to activate the country first. Go to Setup » Orders » Shipping » Settings » Tab: Shipping profiles. Search for the desired country and set it to check_circle Active.
Note: If you set the country of delivery to Active, it is automatically available to be selected in your plentyShop by customers.
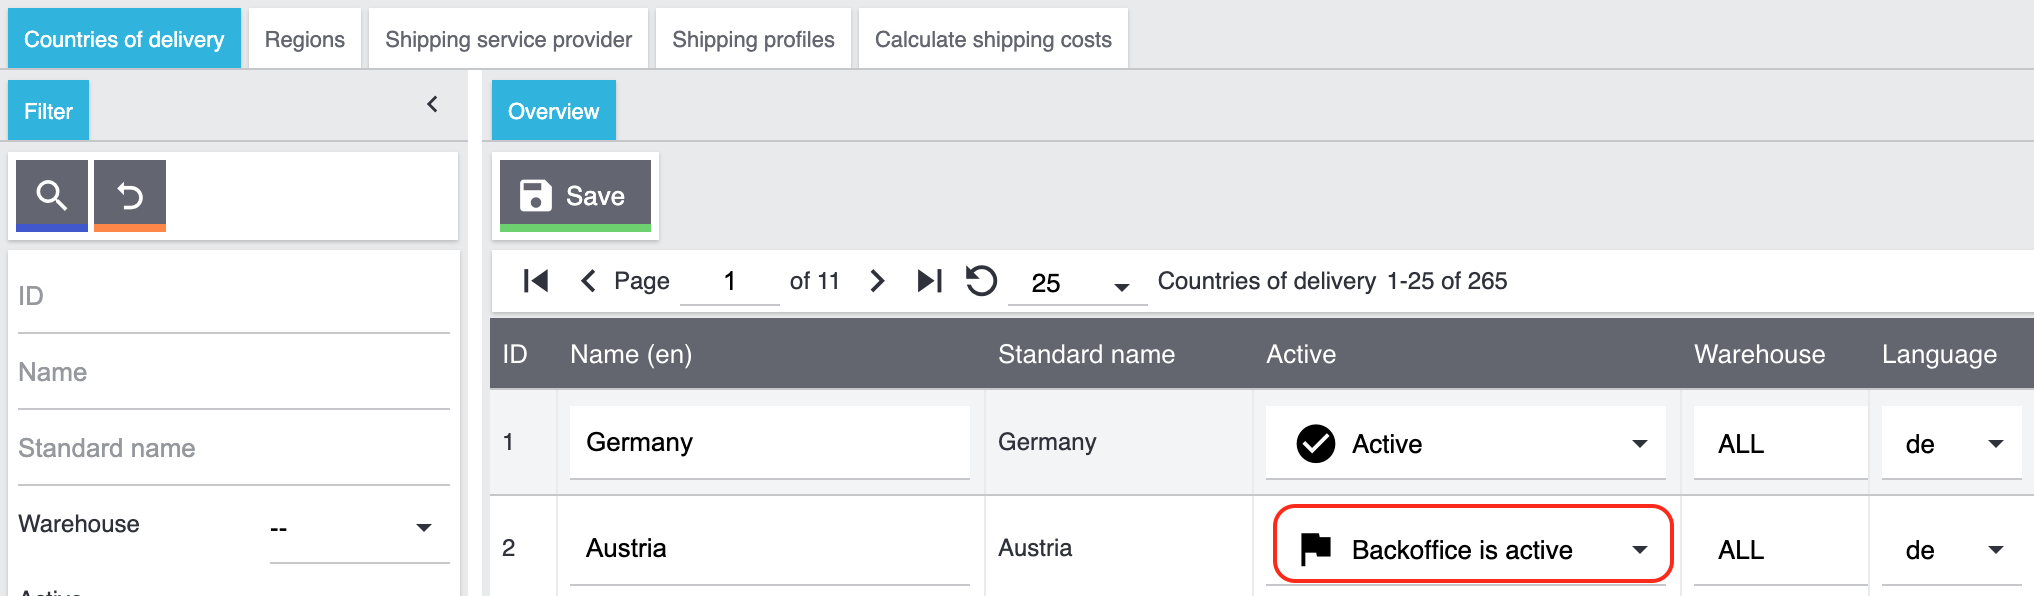
Yes, this is possible. To be able to select this country for example in the contact data record’s drop-down list, you have to set this country to Back office active. Go to Setup » Orders » Shipping » Settings » Tab: Shipping profiles. Search for the desired country and set it to flag Back office active.
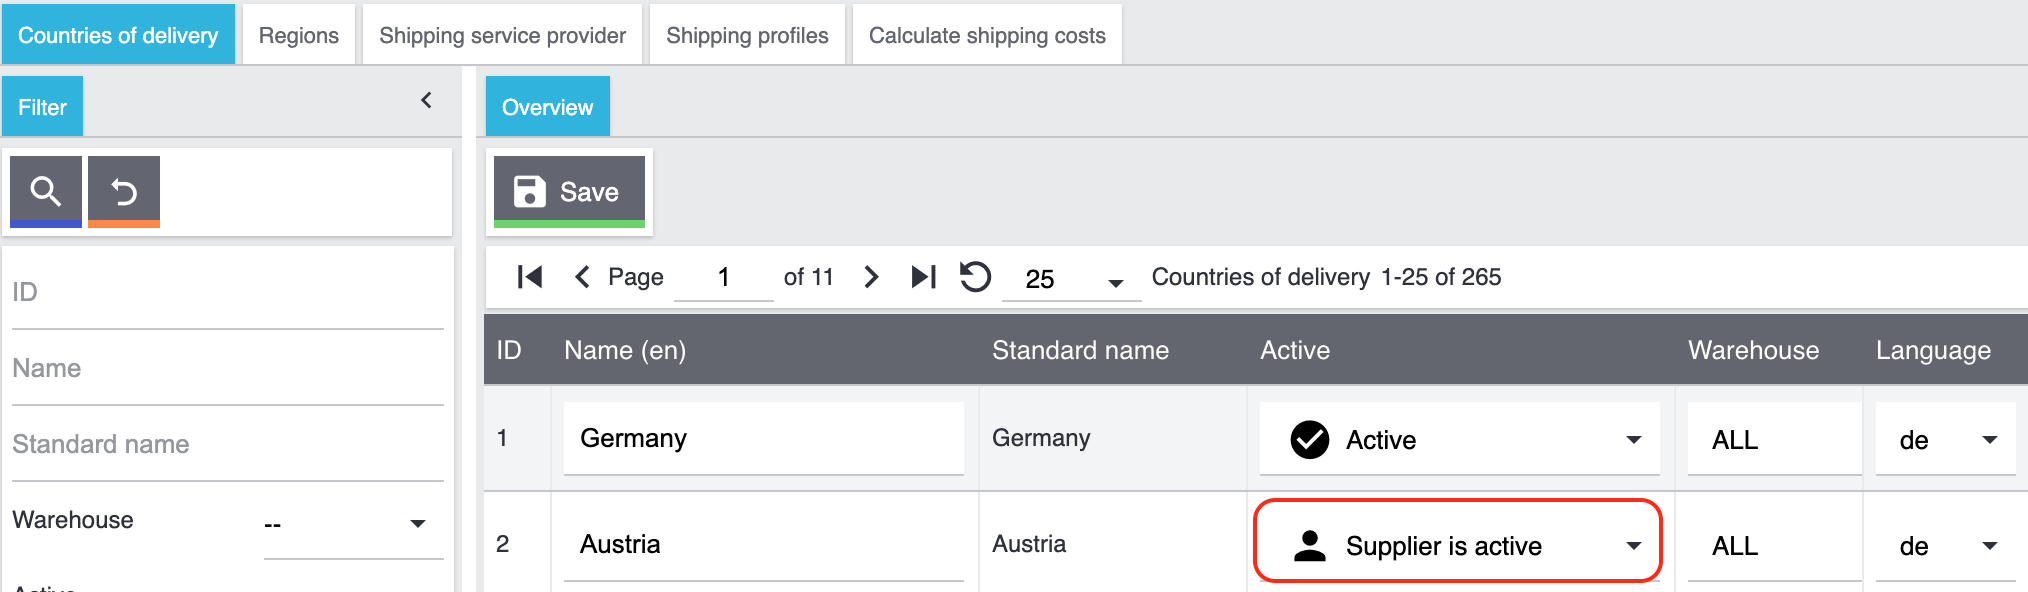
You want to select in a supplier’s contact data record a country that is not available in the list, but you don’t want this country to be selectable in other menus of your back end nor your plentyShop?
To be able to select this country for example in the drop-down list of a supplier’s contact data record, you have to set this country to Supplier is active. Go to Setup » Orders » Shipping » Settings » Tab: Shipping profiles. Search for the desired country and set it to person Supplier is active.
2. GDPR / Anonymising and deleting customer data
A customer asks you to delete her data from your system. To be in compliance with GDPR, you are obliged to delete or make the customer’s data illegible. You have to do following:
-
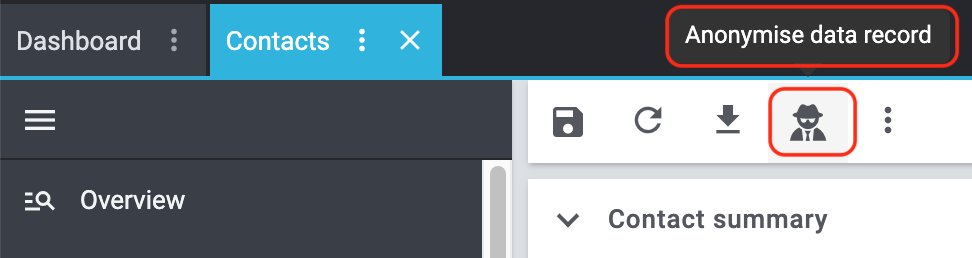
Go to CRM » Contacts.
-
Search for the data record and open it.
-
Click on (Anonymise data record) in the upper line.
-
→ A window opens. Here, you have to enter the contact ID again to confirm the anonymisation action.
Important: This anonymisation action cannot be undone. -
Click on Anonymise.
The following data is anonymised:
-
First and last name of the contact
The following data is deleted:
-
Addresses and address relations
-
Address options
-
Order relations
-
Contact options
-
Any relation to a company
-
Bank details
-
Order confirmation URLs become invalid
Inform the customer that her data has now been deleted from your system. If in doubt, consult a specialist lawyer on how best to formulate this message.
Note: If the button Anonymise data record is deactivated in the data record that you want to delete, it means that this data record is a guest order. In this case, the button is deactivated because the data record is not a contact. Deleting or making the data illegible in such way that no reference to this person is given any longer is not needed for guest orders.
For further information, refer to the Editing a contact page.
Anonymising contact data can be done in the CRM » Contacts menu.
For further information about anonymising contact data, refer to the Editing a contact page.
3. Contact / plentyShop
If your contact cannot log into your plentyShop anymore, this may have the following reasons:
-
The sub-type of the email address was changed from private to business.
-
The contact has entered a wrong password several times in a row.
If the contact enters the wrong password in your plentyShop 4 times in a row, the contact will be blocked for the login for 24 hours and receives the message in the plentyShop to contact the administrator.
With one click, you unlock the contact’s login and your contact is able to log into the your plentyShop again as usual. For further information, refer to the Editing a contact page.
4. Messenger
Refer to the practical example Setting up email forwarding for the Messenger to find descriptions about how to set up the email forwarding with some common providers.
In the Messenger, the following order applies when sending to email addresses:
-
First, the email addresses from the contact will be used in the order listed below.
-
Afterwards, the email addresses from the order will be used in the order listed below.
If the first option is not available, thus the field is empty, the email address from the second option will be used. If also the second option is not available, the email address from the third option will be used and so on.
Contact:
-
Private email address from the contact option
-
Business email address from the contact option
-
Email address from the primary invoice address
-
Email address from the primary delivery address
-
Any other email address from the invoice address (sorted by descending IDs)
-
Any other email address from the delivery address (sorted by descending IDs)
Order:
-
Email address from the invoice address
-
Email address from the delivery address
-
Email address of the contact
5. EmailBuilder
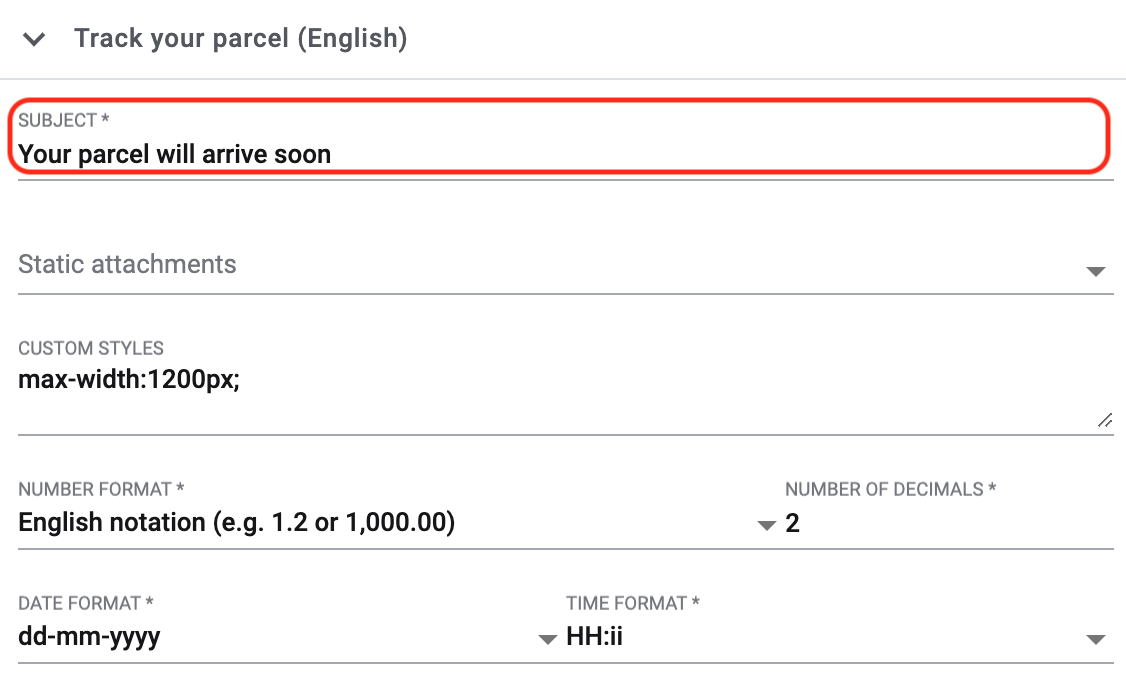
You can change a template’s subject in the EmailBuilder in the Content and subject area.
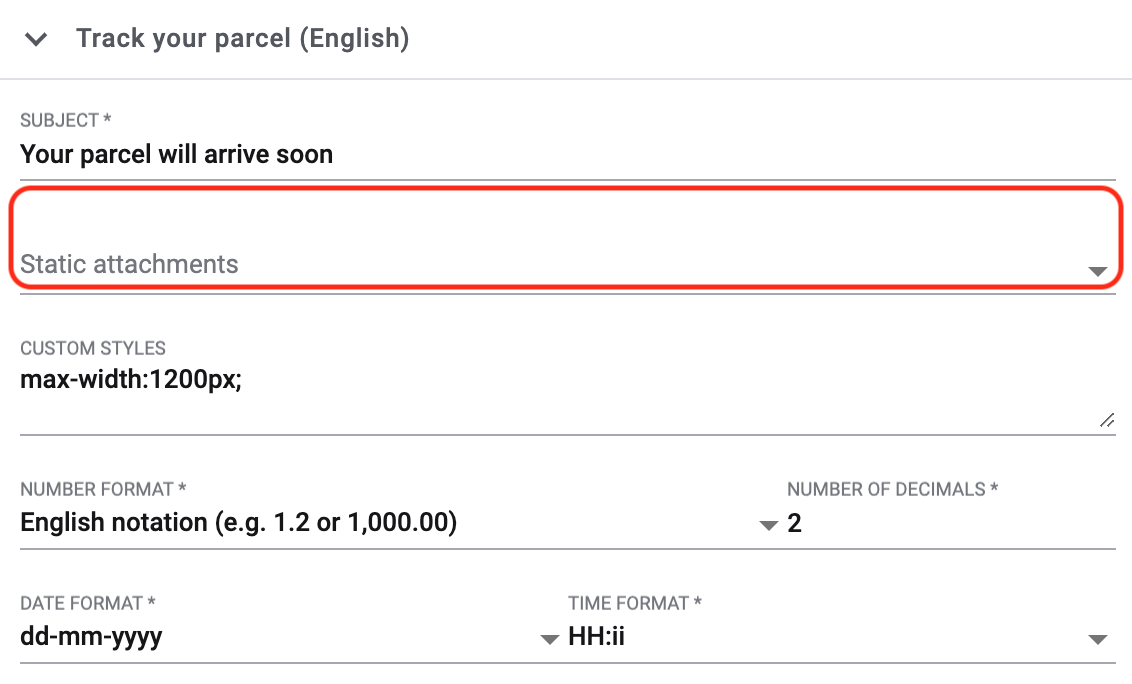
You can select static attachments such as user manuals or product data sheets in the Language settings area.
If you uploaded the desired attachments beforehand to the Shop » Documents menu, they are available here in the Static attachments drop-down list.
Click on UPLOAD file_upload to upload the attachments directly from your computer without the need to upload them in the Shop » Documents menu in advance.
6. Email templates
You would like to send an email template that contains the tracking URL to your customers as soon as the order has been successfully registered with the shipping service provider and the package number is available at the order?
Just have a look at this practical example where we explain step by step which settings you need to carry out in your system.
7. Sending emails
When the test mode is activated, emails are only sent to the email address you entered. This makes sense in order to check the settings before switching to live mode. Go to Setup » Client » Global» Email accounts. There you can (toggle_on) Activate live mode.
Activating the live mode applies globally for the entire email dispatch in PlentyONE. Thus, it also applies for the email dispatch via the messenger.
The email address from the invoice address has priority over the email address from the contact options. If no email address is saved in the invoice address, the email address from the contact options is taken as fallback. This fallback applies if you select in the event procedure the option Contact for the procedure Customer > Send email. The following prioritisation applies: The private email address has priority over the business email address.
Set up an event procedure in the Setup » Orders » Events menu. After you selected the desired event, select the procedure Customer > Send email afterwards. There, you can select the following recipients:
-
Invoice address from order
-
Invoice address from order
-
Contact email business
-
Contact email private
-
Contact email PayPal
You can either select the same or a separate email template for each of these recipients. This way, an email will be sent to the above mentioned recipients at the same time once the selected event occurs.
You have the problem that a template that you created with the EmailBuilder cannot be sent? Moreover, you see an error message in the log in the Data » Log menu, but you don’t know how to fix the problem?
In this case, check the language-dependent settings in your template and, if needed, the settings of the header and footer:
-
Open the EmailBuilder template and check whether the template is also saved in the language that is saved in the order. If the language in the template is not available, click on add in the top right and add the language as well as the translation.
-
If the language setting is correct (which means that the template language and the language in the order are identical), check whether you saved the header and footer that you linked with the EmailBuilder template in the correct language.
-
If you saved the header and footer in the correct language, check whether content is available in the header and footer.
For further information about the EmailBuilder, refer to our user manual.
8. Coupons
No. Coupon codes that have already been cancelled cannot be activated again.
This is because a relation to an order already exists. This means that a coupon that has already been redeemed is not valid any longer, even if the order itself has been cancelled.
In this case, you have to generate new coupon codes in the Orders » Coupons menu. How this works, is described on the Coupons page.