Adjusting storage locations
This page offers Best Practices for importing and exporting data. Before you use these Best Practices in order to exchange data, familiarise yourself with the functions of the FormatDesigner, the Elastic Export and the import tool. To do so, read the pages Creating data formats with FormatDesigner, Elastic Export and Using the import tool.
1. Exporting data
In the first section of the Best Practices we will focus on the data export. First, we will show you how to create and assign data fields by using the FormatDesigner.
1.1. Creating and assigning data fields with the FormatDesigner
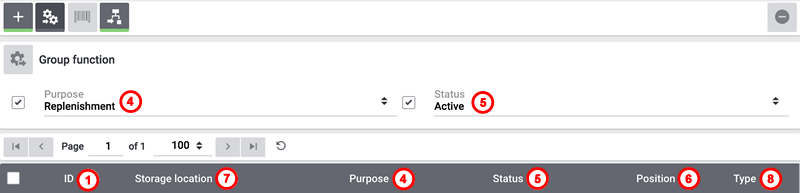
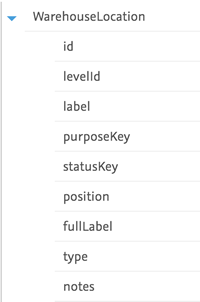
In the menu under Data » FormatDesigner you can create data formats for the export. In order to use it, the FormatDesigner plugin has to be installed. In the following section we exemplarily create a template for storage location and thus for the data format WarehouseLocation. It contains all data fields that directly concern the storage location.
| Setting | Explanation |
|---|---|
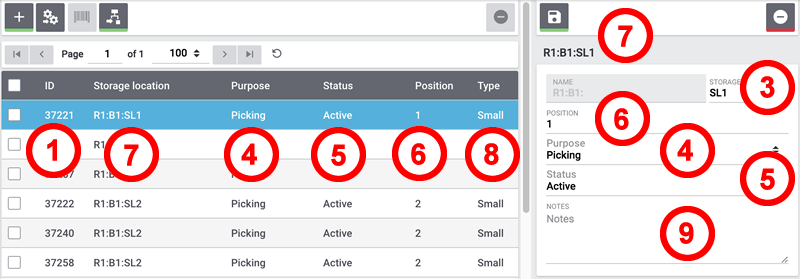
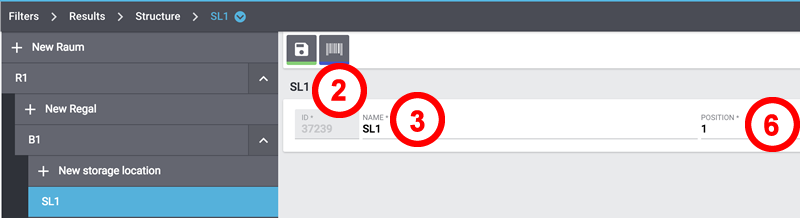
ID |
The ID of a storage location is unique, as a new one is assigned to every storage location. |
LevelID |
ID of the level on which the storage location is located. |
Label |
Here you can enter a name for the storage location label. |
Purpose |
Purpose of the storage location, e.g. removal from storage |
Status |
Status of the storage location, e.g. active, inactive |
Position |
Position of the storage location (distance) |
Full label |
Name of the storage location |
Type |
Type of the storage location, e.g. small, medium, large |
Notes |
Here you can make notes regarding the storage location. |
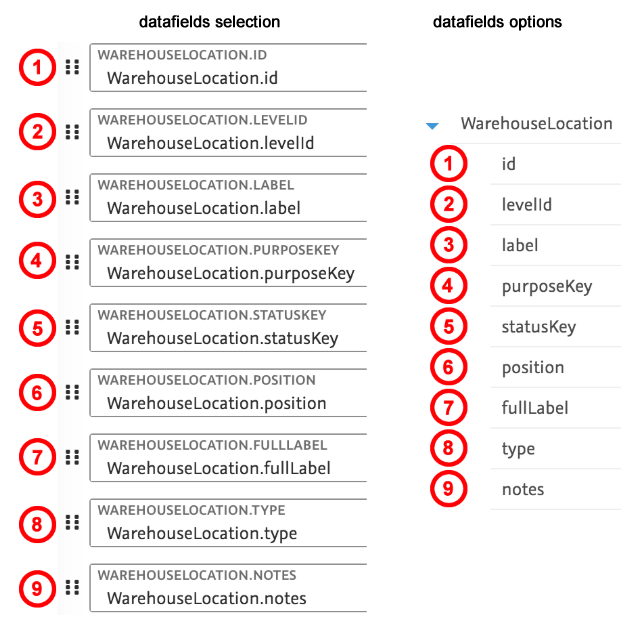
In our example we use the FormatDesigner to create an import of the type Warehouse and name it warehouseLocation.
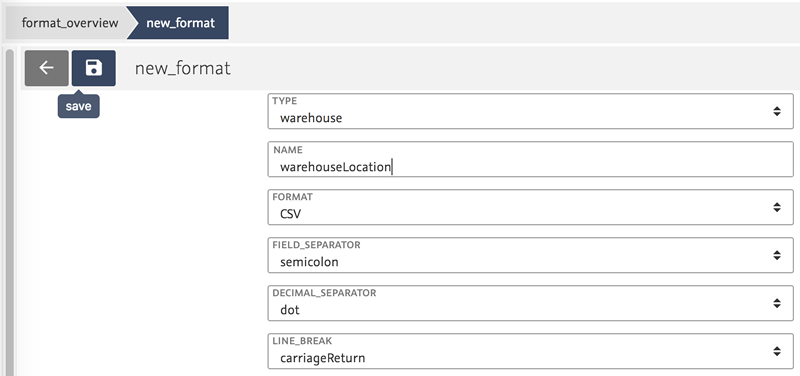
By clicking on the data fields they are added to the template.
Save () the settings.
This leads to the following assignment in the FormatDesigner.
1.2. Exporting data with the Elastic Export
The Elastic Export allows you to export the templates that have been created in the FormatDesigner into the CSV format. If no Elastic Export can be created the plugin on plentyMarketplace has to be installed first.
1.2.1. Creating a new export
In the menu under Data » Elastic export you can create a new export.
-
Go to Data » Elastic export.
→ The overview opens. -
Click on New export.
-
Carry out the settings. Pay attention to the explanations given in Table 2.
-
Save () the settings.
-
Refresh the token once again.
-
Click on Download file ().
→ The created CSV file can be edited in a spreadsheet programme. -
Once the data have been edited the file has to be saved under a new name.
| Setting | Explanation |
|---|---|
Name |
Enter a name. The export format is listed by this name in the overview within the Exports tab. |
Type |
Select the data type that should be exported from the drop-down list. Here we select the type warehouse. |
Format |
Select a format for the export from the drop-down list. Only formats that were installed from the plentyMarketplace are available. |
Limit |
Enter a number. It is limited to 10,000 data records. |
Provisioning |
Select URL, FTP or Admin area. Different settings will appear depending on which option is selected here. Here we select the option URL. |
Token |
If you have selected the option URL under Provisioning, then click on Generate token. The token is entered automatically. |
Filter |
For the filter we select the option warehouse. |
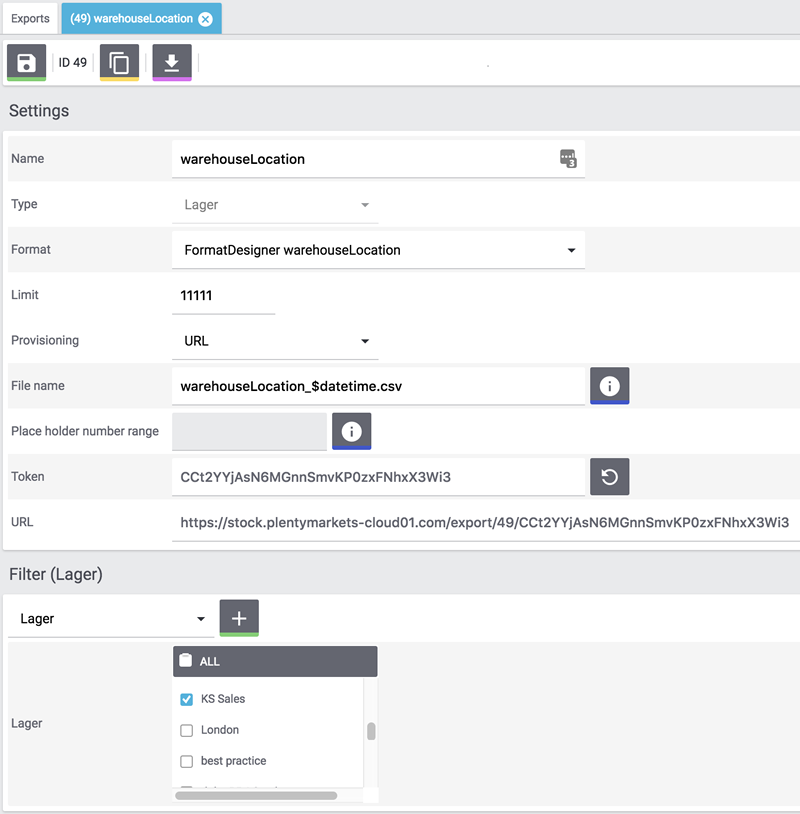
In the table the data look as follows.

2. Processing data
In a next step the data are processed. The CSV file that has been created per Elastic export can be opened in a spreadsheet programme.

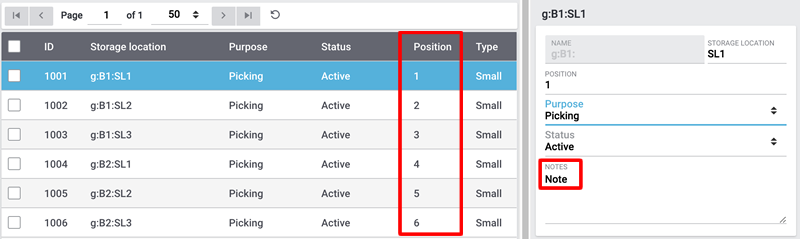
The data fields level, label, purpose, status, position, type and notes can be imported.
In the given example we changed the values of the position and the notes.

3. Importing data via the import tool
In the next section we will deal with importing data via the import tool. We will exemplarily create an import of the type Warehouse.
-
Go to Data » Import.
→ The overview opens. -
Click on Add import ().
→ The overview opens. -
Carry out the settings. Pay attention to the explanations given in Table 3.
-
Save () the settings.
→ The import has been saved.
| Setting | Explanation |
|---|---|
Name |
Name of the import |
Type |
Select which data fields can be assigned to the import data. In this example we select the type warehouse. |
Data type |
So far the only available data type is CSV. |
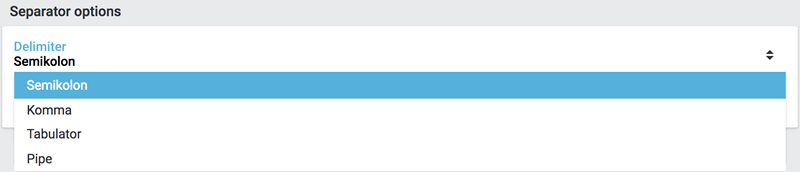
Separator |
The separator separates the different data types. In this example we use the separator semicolon. |
Source |
The CSV file is stored in the source. In this example we use the data upload which will soon be available as own option field. |

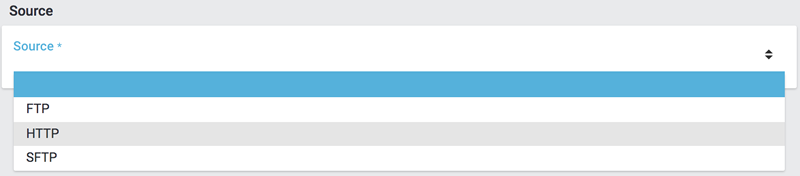
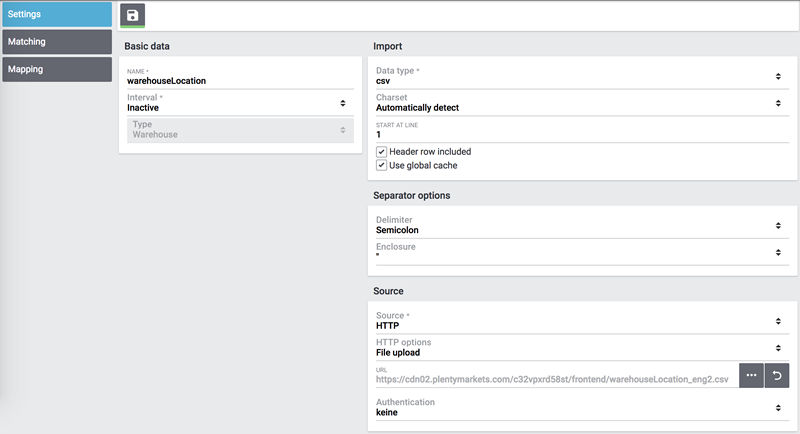
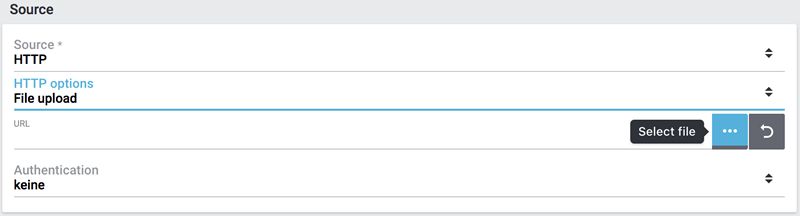
The file upload is next, for which we use a local CSV file. In this case we select HTTP as source and data upload as HTTP option.
-
Click on Select file to open the file manager.
-
Click on Upload file () to provide a new file.
-
Select the CSV file from the file manager.
-
Click on Open.
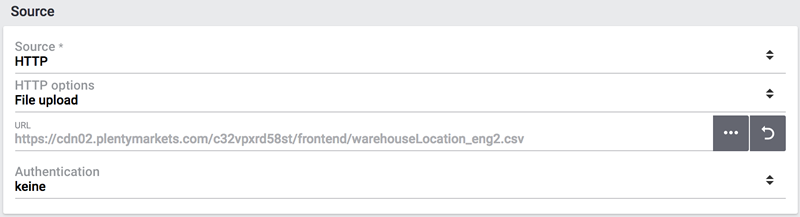
→ The file is saved in the list under My files. -
Tick the box and select the file.
→ The file is loaded into the source directory. -
Save () the settings.

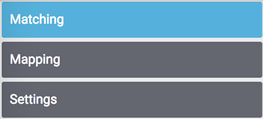
3.1. Matching
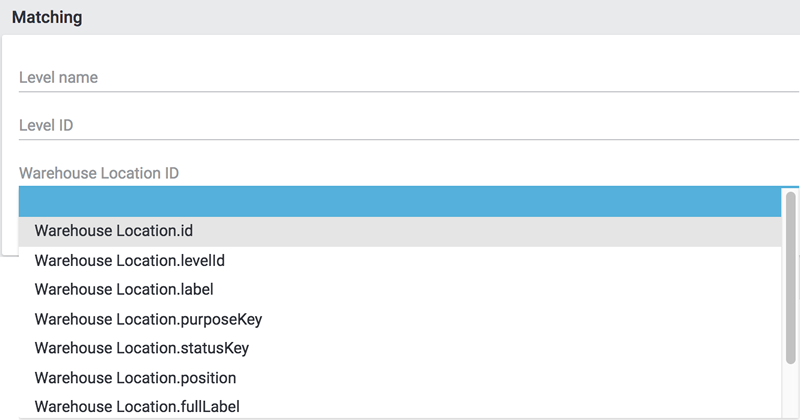
For the matching it is necessary to determine and assign the data in order to figure out which data of the file corresponds to which data in PlentyONE.
With the matching you determine by which data is examined whether a data record already exists.
In this example the WarehouseLocation ID is used for the matching.
3.2. Import options
Here is determined whether only new data, only existing data or new as well as existing data should be imported.
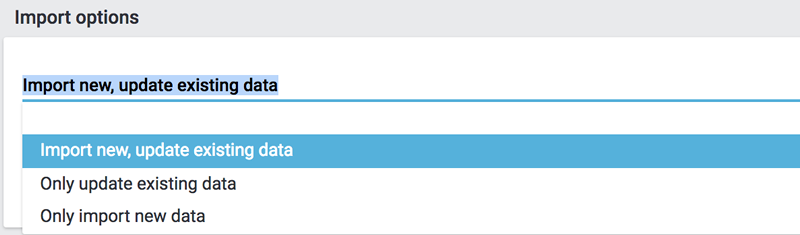
Save () the settings.
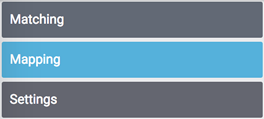
3.3. Creating a mapping
In the mapping the imported data are assigned to the PlentyONE data fields.
At first a mapping needs to be created.
-
Click on the field Mapping.
→ The overview opens. -
Click on Add mapping ().
-
Select a name.
-
Save () the settings.
→ The mapping has been created.
3.4. Assigning data fields
The data that is to be imported has to be assigned to the PlentyONE data fields.
-
Click on Field.
→ The overview of the import data and the PlentyONE data fields opens. -
Click in the field Target and select the corresponding data field.
-
Click on Activate row in order to activate the import data.
-
Save () the settings.
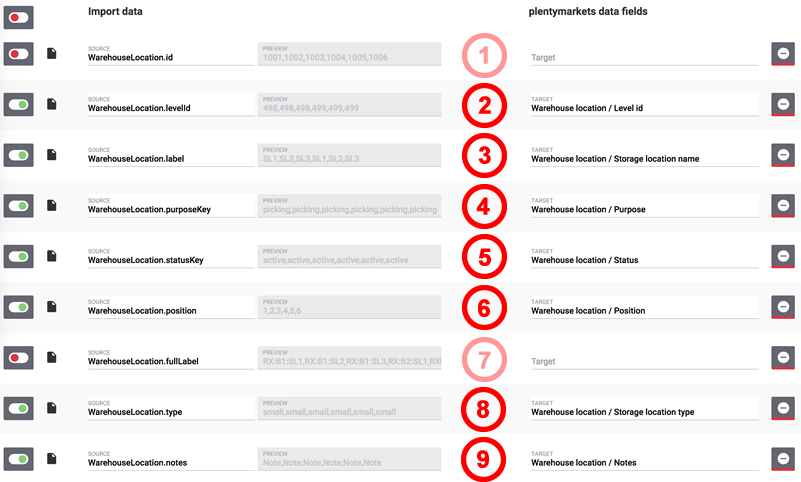
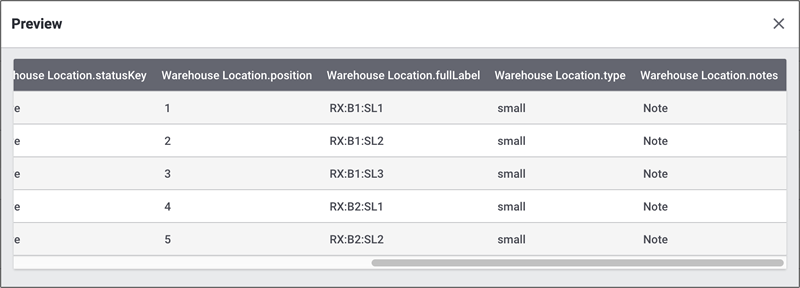
Click on Preview () in order to display the changes of the first rows.