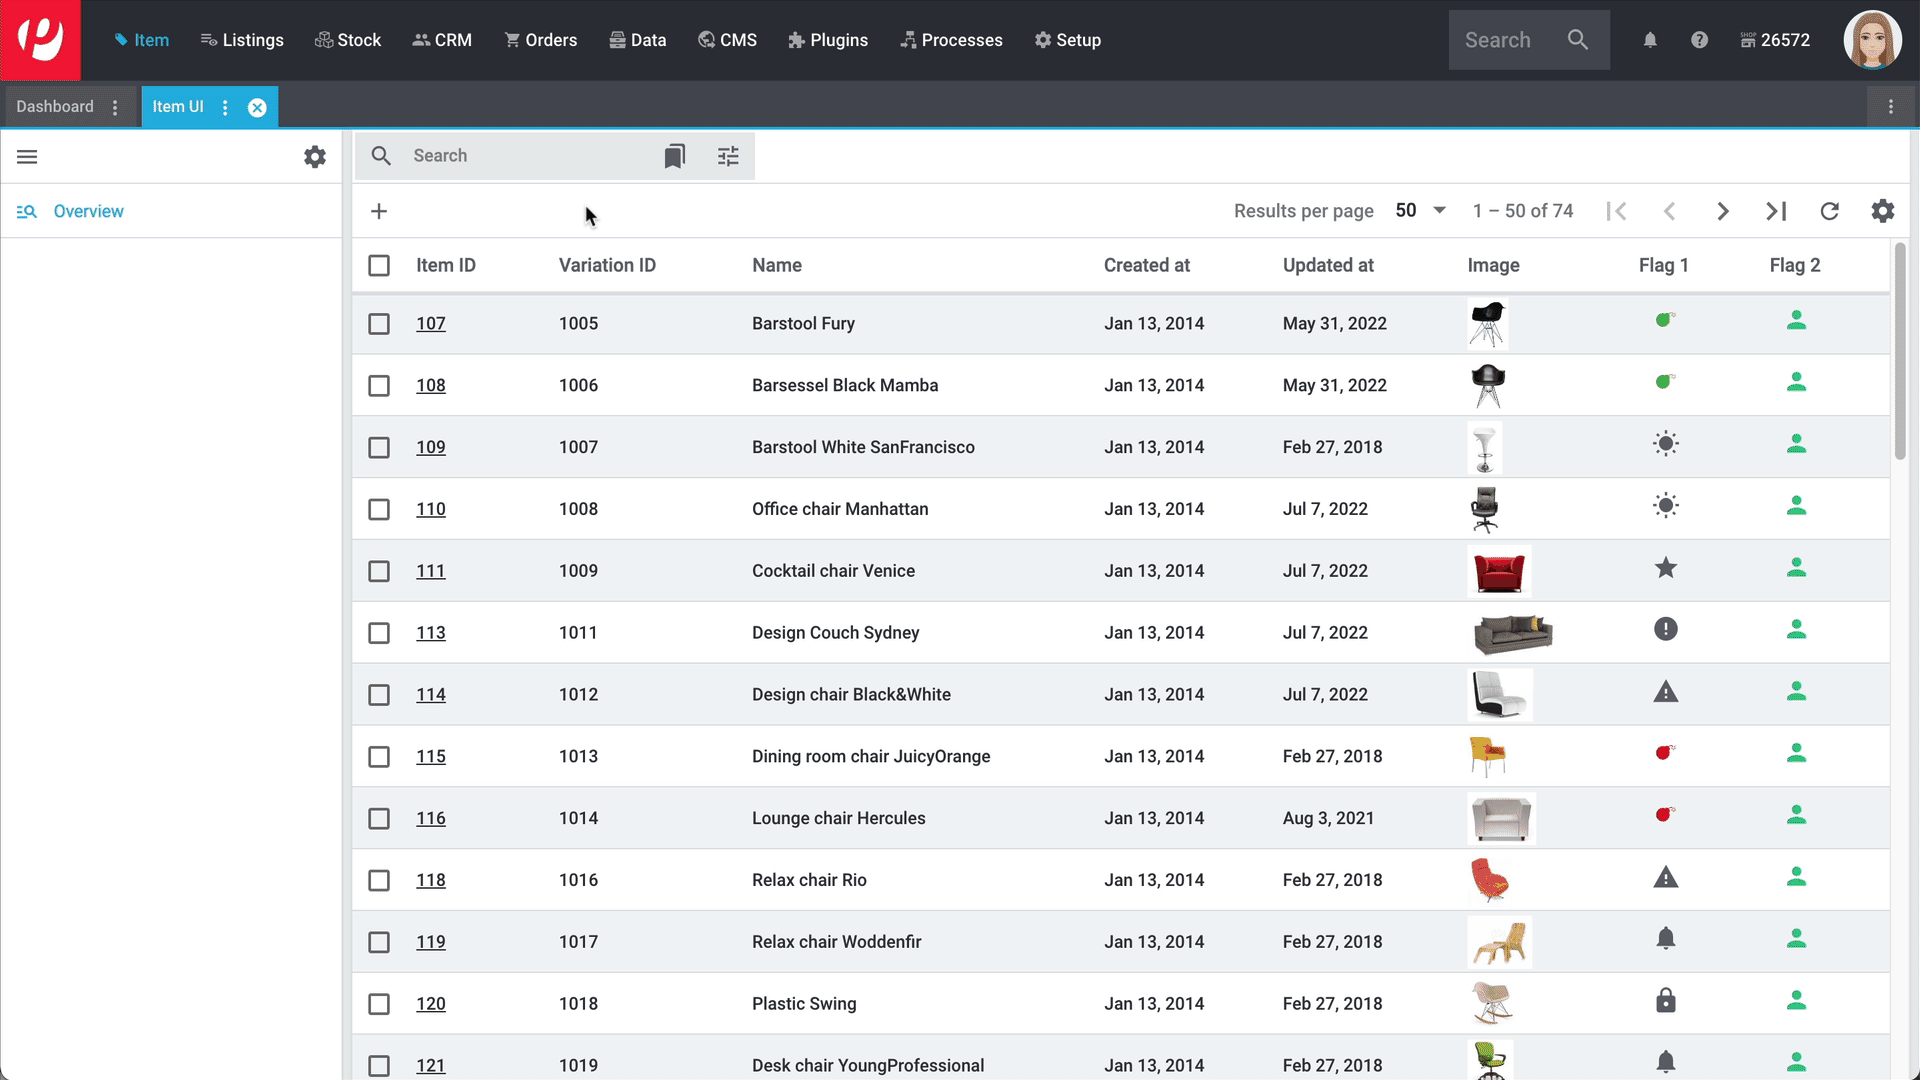
Mass processing
Your business is booming and you’ve already built a solid product portfolio. But how do you best deal with the product data in your day-to-day work? PlentyONE includes various mass processing functions.
Use the group function to edit several items or variations at once. Examples:
|
|
Use the import & export to simultaneously modify several items or variations in a CSV file. Workflow:
|
|
Imagine you just found out that your manufacturer renamed a part. Now it’s your job to change the name in all of your item texts. Use the search & replace function to globally change a word or phrase in all of your item texts. |
|
Imagine you want to add a new item to your product portfolio. It’s really similar to an existing product. In this case, copy the existing product. Then change the settings that differ for the new item. |
1. Group functions
Use the group function to edit several items or variations at once. You’ll directly choose the items or variations that should be edited. For example, you can use the group function to:
-
choose the items that should be included in a special sale.
-
increase the price of all the variations that are manufactured by a certain company.
1.1. Item group function
-
Go to Item » Items.
-
Select () the items to be edited.
-
In the toolbar, click on layers » layers Item group function.
→ The Item group function window opens. -
Which settings do you want to modify? Select () the corresponding actions from the drop-down list.
→ The actions will be added to the lower part of the window. -
Configure the settings in the lower part of the window.
-
Execute the group function.
| Action | Explanation |
|---|---|
Delete item images |
Choose this option () to delete all of the item images for the selected items. |
Delete second item image |
Choose this option () to delete the second item image for the selected items. |
| Action | Explanation |
|---|---|
Condition |
What condition are the selected items in? Select the appropriate condition from the drop-down list. |
Flag 1; |
Assigns one or two flags to several items at once. |
Manufacturer |
Who makes the selected items? Select the appropriate manufacturer from the drop-down list. |
Manufacturing country |
Which country were the selected items manufactured in? Select the appropriate manufacturing country from the drop-down list. |
Revenue account |
Enter up to 11 digits for the revenue account. |
Serial number |
This option is only relevant for items with serial numbers. Use this option to make several items scannable at once. |
Store special |
Should the selected items be featured in a store special? If so, then specify whether you want to call the item a special offer, a new item or a top item. |
Update set prices |
This option is only relevant for item sets. Use this option to update the so-called “from price” for several items at once. |
| Action | Explanation |
|---|---|
Amazon FBA |
Should the selected items be sold via FBA? Note: By doing so, the FBA stock of this item can be imported into PlentyONE and Amazon Multi-Channel orders that are shipped with FBA can be booked. = Yes, the item is sold via FBA. |
Amazon product type |
Select the appropriate Amazon product type from the drop-down list. You can think of the product type as the Amazon category under which this item should appear. When you transmit your items to Amazon, you’ll transmit one product type at a time, i.e. one category at a time. Note: You can download an overview of Amazon product types here. The table lists the product types and their corresponding IDs. |
Create listing |
Choose this option () to create listings on eBay for the selected items. Additional settings: Did you save a listing template for the item? The listing template specifies, e.g. whether the listings are for eBay. If the item doesn’t have a listing template, then the system will try to create an eBay listing by default, since this is the most common situation. Example: Imagine you want to create an eBay listing. In this case, you will need to save a listing template for the item. PlentyONE knows that it should create eBay listings because the eBay account is saved in the template. |
FBA Fulfillment |
Should the item be sold via FBA? If so, then select the appropriate Amazon marketplace from the drop-down list.
|
Listing template |
Choose a previously created listing template to link it with this item. |
Update item timestamp for market exports |
Sets the Last change timestamp to the current date and time. Background: Sometimes it’s necessary to update the timestamp, e.g. if you want to sell the item on Amazon. This is because items are only exported to Amazon if they were edited within the last 24 hours. |
| Action | Explanation |
|---|---|
Delete existing shipping profiles |
Select this option () if you want to remove existing shipping profiles from the item. Note: The shipping profiles themselves will not be deleted. They will simply be removed from the item. |
Shipping profiles |
How are the selected items shipped? Select all of the appropriate shipping profiles from the drop-down list (). Note: Use this action together with the action Delete existing shipping profiles if you want the new shipping profiles to replace the existing ones. In other words, if you want the existing shipping profiles to first be removed from the item data record. |
1.2. Variation group function
-
Go to Item » Items.
-
Select () the variations to be edited.
-
In the toolbar, click on layers » layers Variation group function.
→ The Variation group function window opens. -
Which settings do you want to modify? Select () the corresponding actions from the drop-down list.
→ The actions will be added to the lower part of the window. -
Configure the settings in the lower part of the window.
-
Execute the group function.
Alternative workflow
It’s also possible to use the variation group function within the variation overview. The procedure is as follows:
-
Go to Item » Items » [Open item] » Variation overview.
-
Select () the variations to be edited.
-
In the toolbar, click on Variation group function (layers).
→ The Variation group function window opens. -
Which settings do you want to modify? Select () the corresponding actions from the drop-down list.
→ The actions will be added to the lower part of the window. -
Configure the settings in the lower part of the window.
-
Execute the group function.
|
Delete variations via group function
You can delete variations in the variation overview via the toolbar. Select all variations that you want to delete and click delete Delete variation. |
| Action | Explanation | ||||||
|---|---|---|---|---|---|---|---|
Active |
= Activates the selected variations. Background info: Variations only become visible in the plentyShop or on marketplaces once they have been activated. In other words, you can work on inactive variations without your customers noticing. Complete checklist for visibility. |
||||||
Always invisible in item list |
|||||||
Clients (stores) |
Which plentyShops do you want to sell the selected variations in? Activate all of the appropriate clients. = Activates the client for the selected variations. |
||||||
Deliverable if net stock is positive |
|||||||
Displayed delivery time |
How long is the variation’s delivery time? Select the appropriate availability level from the drop-down list. |
||||||
Make available for client despite negative net stock |
Corresponds to the button Temporarily make available in the menu Item » Items » [Open variation] » Element: Client (Store). Background info: PlentyONE can automatically remove variations from the plentyShop if they are no longer in stock. This automatic function is controlled by the settings in the menu Item » Items » [Open variation] » Element: Availability and visibility. Use this group function if you want to manually make the variation visible in the plentyShop despite the fact that it’s not in stock. This setting remains valid until new stock is booked for the variation. Once net stock for the variation becomes positive, the availability and visibility settings if net stock is 0 or negative take effect again. |
||||||
Not deliverable if net stock is negative |
|||||||
Not visible if net stock is negative |
|||||||
Not visible in item list if net stock is negative |
|||||||
Sales channels |
Which marketplaces do you want to sell the variation on?
|
||||||
Stock limitation |
Should PlentyONE monitor the variations’ stock levels?
|
||||||
Visible if net stock is positive |
|||||||
Visible in item list if net stock is positive |
| Action | Explanation |
|---|---|
Bundle gross weight: Automatically calculate from bundle components |
Should the gross weight automatically be calculated based on the bundle components? = Activates the automatic calculation. Note: This setting is only relevant for item bundles. |
Bundle moving average purchase price (net): Automatically calculate from bundle components |
Should the moving average purchase price automatically be calculated based on the bundle components? = Activates the automatic calculation. Note: This setting is only relevant for item bundles. |
Bundle net purchase price: Automatically calculate from bundle components |
Should the net purchase price automatically be calculated based on the bundle components? = Activates the automatic calculation. Note: This setting is only relevant for item bundles. |
Bundle net weight: Automatically calculate from bundle components |
Should the net weight automatically be calculated based on the bundle components? = Activates the automatic calculation. Note: This setting is only relevant for item bundles. |
| Aktion | Erläuterung |
|---|---|
Add properties |
Select the properties that should be linked to the variations. Additional settings: Depending on the type of property, you might need to enter additional information in the menu Item » Items » [Open variation] » Left navigation: Properties. For example, if the property is something like a weight or a length, then it will be necessary to enter a numeric value. Further information. |
| Action | Explanation | ||||||||
|---|---|---|---|---|---|---|---|---|---|
Price calculation |
Select an existing price calculation from the drop-down list. This will link the price calculation to the selected variations. The variations’ prices will be calculated accordingly. |
||||||||
Sales price |
Edits the prices of all the selected variations. How exactly the prices are edited depends on how you configured the settings.
Examples:
|
| Action | Explanation |
|---|---|
Activate data sync |
Changes on the product are directly synced on the sales channel. |
Pause data sync |
The sync between product and sales channel is paused. |
Create product listings |
Create a product listing with the selected products. |
| Action | Explanation |
|---|---|
Add tags |
Which tags do you want to link to the variation? Click into the field and select the tags that should be linked to the variation. Note: Use this action together with the action Remove all tags if you want the new tags to replace the existing ones. In other words, if you want the existing tags to first be removed from the variation data record. |
Remove all tags |
Select this option () if you want to remove all of the existing tags from the variation. Note: The tags themselves will not be deleted. They will simply be removed from the variation. |
Remove tags |
Do you want to remove a few specific tags from the variation? Click into the field and select the tags that should be removed from the variation. Note: The tags themselves will not be deleted. They will simply be removed from the variation. |
| Action | Explanation | ||||
|---|---|---|---|---|---|
Categories |
Select a category and click on Apply. The category will be linked to the selected variations. Note: By default, existing category links remain unchanged. So select the option Delete existing category links if you want the new category to replace all of the existing categories. In other words, if you want the existing categories to first be removed from the variation data record. Note: It’s only possible to link one category at a time. So you’ll need to use the group function multiple times if you want to link multiple categories. We recommend using the button Execute rather than Execute & close. This allows you to directly link one category after another, without having to re-start the group function and re-select the category action each time. Note: If you select a main category, i.e. a category that also has further sub-categories, then only the main category will be linked. The sub-categories will not be linked. This is because it’s only possible to link one category at a time. |
||||
Customs tariff number |
Enter the customs tariff number. In PlentyONE, it’s possible to save a different customs tariff number for each variation. Example: In some countries, children’s clothing is taxed differently depending on the size. In this case, it makes sense to save the customs tariff number separately for each variation. Inheritance: The customs tariff number is automatically passed down from the main variation to the sub-variations. This means:
|
||||
Generate GTIN |
Select a GTIN type from the drop-down list. This type of GTIN will be generated for the selected variations from the number range. |
||||
Gross weight; |
Enter a value in grams. This weight will be saved for the selected variations. |
||||
Inheritance |
Changes the inheritance behaviour for prices, availability levels, categories, etc. In other words, specifies whether the data should be passed down from the main variation to whichever sub-variations were chosen in the overview.
Note: This group function controls the inheritance of all prices, categories, suppliers etc. saved for the main variation. It is not possible for individual prices, categories, suppliers, etc. to be inherited. |
||||
Show unit price |
Should the unit price be displayed in the plentyShop? = Yes, the unit price will be displayed for the selected variations. |
||||
Update variation timestamp for market exports |
Sets the Last change timestamp to the current date and time. |
| Action | Explanation | ||||||||||
|---|---|---|---|---|---|---|---|---|---|---|---|
Extra shipping charge 1; |
Enter a fee that should be charged in addition to the normal shipping costs. Such extra shipping charges are useful for large or bulky items that are particularly expensive to ship.
Additional settings: In each of your shipping profiles, specify whether these extra charges should be added to the basic shipping costs. Note: The manual also includes several example calculations for extra shipping charges. |
||||||||||
Main warehouse |
Select the variation’s main warehouse from the drop-down list. |
||||||||||
Warehouse settings |
Select a warehouse from the drop-down list. This will link the warehouse to the selected variations. Additional settings will be displayed.
|
== Import & Export
Use the import & export, e.g. if you want to modify several items and variations at once. Export a CSV file containing your product data. Then revise the file and import it again.
Procedure
-
Download the necessary plugins:
-
Elastic Export
-
FormatDesigner
-
-
Create so-called data formats with help from the FormatDesigner.
-
Configure the elastic export. While doing so, choose the data format that you just created.
-
Export the CSV file, modify it and re-import it into PlentyONE.
Further information
== Search & replace
Imagine you just found out that your manufacturer renamed a part. Now it’s your job to change the name in all of your item texts.
Use the search & replace function to globally change a word or phrase in all of your item texts. In other words, search for a specific item text in the database and replace the results with a new text.
Searching and replacing item texts:
-
Go to Setup » Item » Search & replace.
-
Select the database field.
-
Enter a search term into the first field. The field is case-sensitive.
-
Enter a new text into the second field.
-
Click on Search.
→ The number of relevant items is displayed. -
Click on Replace all.
→ All texts are replaced by the new texts.
== Copying items and variations
Imagine you want to add a new item to your product portfolio. It’s really similar to an existing product. In this case, copy the existing product. Then change the settings that differ for the new item.
Copying an item:
-
Go to Item » Items.
-
Search for and open the item.
-
In the upper toolbar, click on and then on Copy item.
→ The Copy item window opens. -
Click on Confirm.
→ The item is copied and opens in the left navigation bar.
|
What exactly is copied?
A copy of the item and its variations is created. You can continue editing the new item. For example, carefully check the sales prices, barcodes and availabilities and edit them as needed.
|