Installation and initial setup
Are you already convinced of the advantages of the PlentyONE Warehouse app? Then do not lose any time and start setting up the PlentyONE Warehouse app on the appropriate devices.
On this page you will learn how to install PlentyONE Warehouse, how to find your way around after the first login and how to carry out general settings.
1. Selecting appropriate devices
Before installing the PlentyONE Warehouse app, make sure that the device you are using meets the requirements. Click on the box below this text to learn more.
If you want to use the PlentyONE Warehouse app to manage the processes in your warehouse, all you need is a mobile device with an Android operating system. A regular smartphone might be sufficient for trying out the app. However, we recommend using professional devices with integrated barcode scanners for everyday tasks in bigger warehouses. Table 1 contains a list of so-called MDC devices that we recommend for using the PlentyONE Warehouse app.
|
Note Android minimum version
No matter if you want to use the PlentyONE Warehouse app on a smartphone or on the hardware listed below: version 7.0 or higher of the Android operating system needs to be installed on your app. We reserve the right to increase this minimum requirement on a yearly basis in order to guarantee compatibility with Android. |
| Hardware | Where to buy in Germany |
|---|---|
M3 SM15 Mobile Computer |
SundS ITS |
Zebra TC 21 |
SundS ITS |
Zebra TC 26 |
SundS ITS |
2. Installing PlentyONE Warehouse
Have you made sure that your devices meet the system requirements described above? Then, the next step consists of downloading the PlentyONE Warehouse app and installing it.
-
Click here to download PlentyONE Warehouse on Google Play Store.
3. Logging into PlentyONE Warehouse
The PlentyONE Warehouse app only works in combination with an already booked system. Users simply use their regular PlentyONE login details to log into PlentyONE Warehouse.
Logging into PlentyONE Warehouse:
-
Open PlentyONE Warehouse on your device.
-
Enter your login details. Pay attention to the explanations given in Table 2.
-
Tap Login.
→ You are logged into PlentyONE Warehouse.
| Setting | Explanation |
|---|---|
plentyID |
Enter the ID of the system whose stock you want to manage with PlentyONE Warehouse. |
User name |
Enter the user name for your account. |
Password |
Enter the password for your account. |
|
Alternative: Using the central login
Instead of logging into the PlentyONE Warehouse app using the plentyID and the user name, you can also do so using your email address. To do so, click on email at the bottom of the login screen. A PlentyONE account has to be created beforehand for the respective user so that this method can be used. Refer to the PlentyONE account page of the manual to learn about how this works and to access further information. |
4. Your PlentyONE Warehouse dashboard
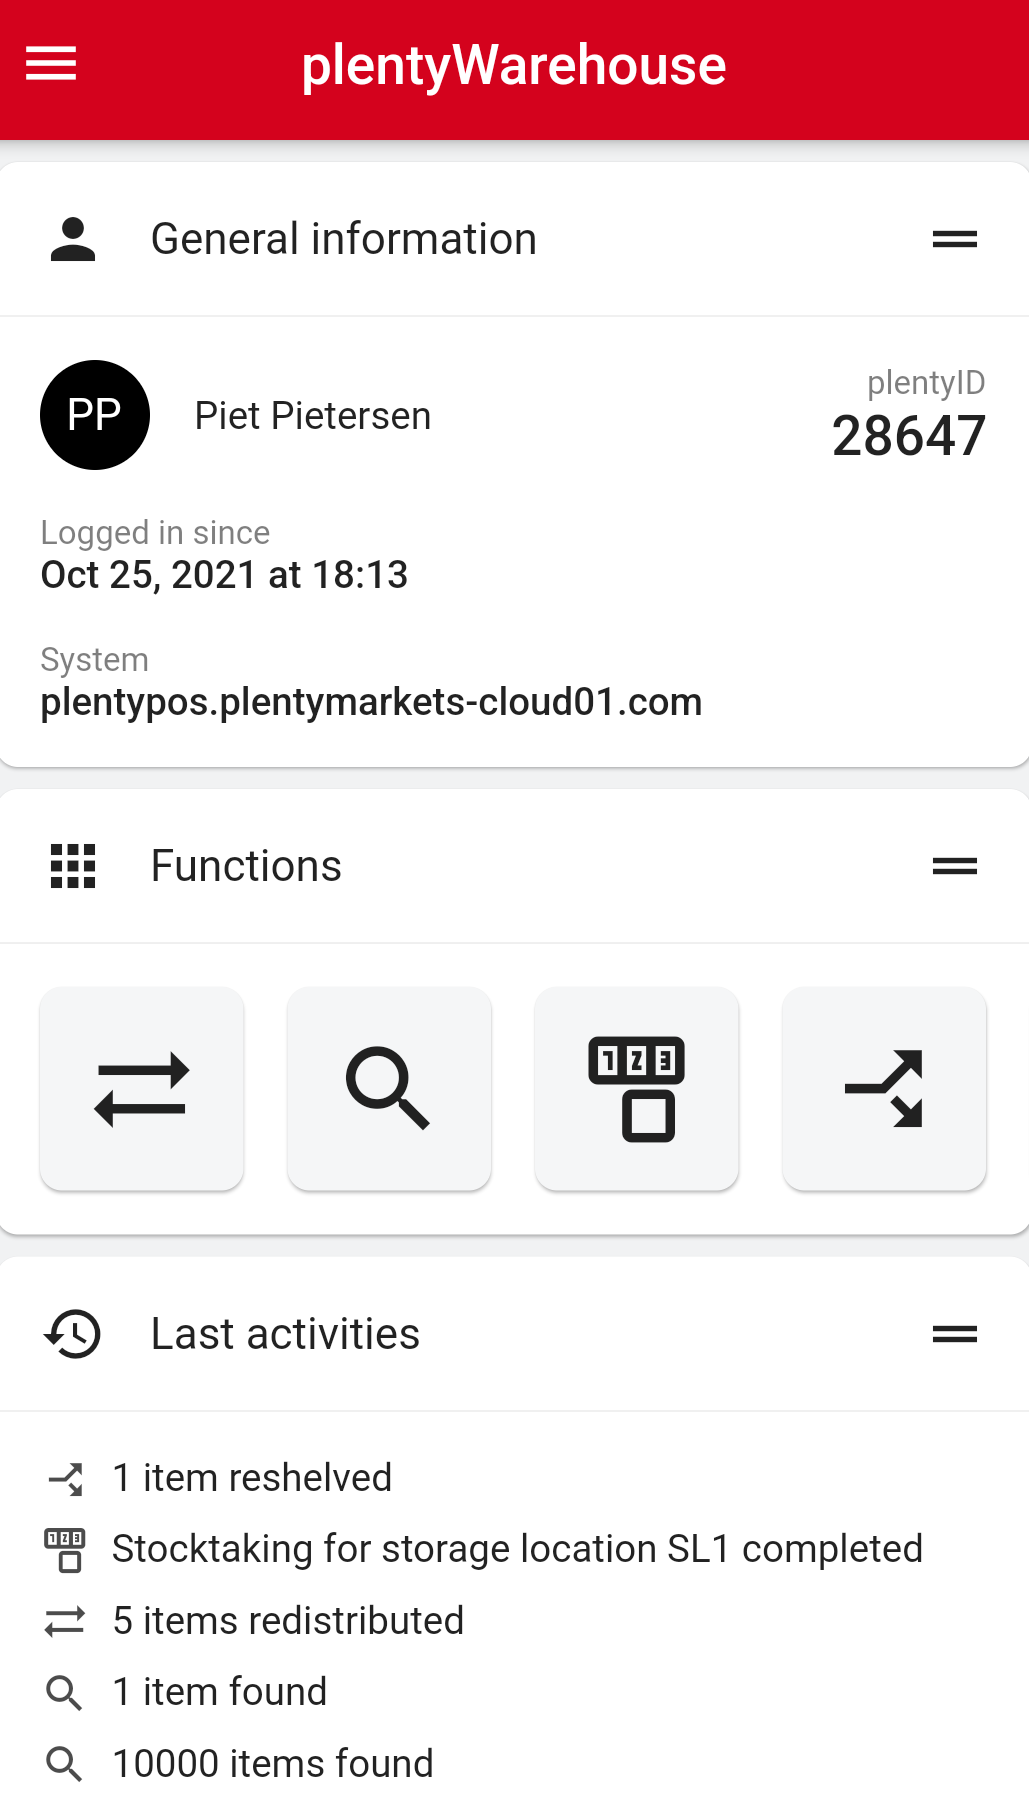
After you have logged into PlentyONE Warehouse, the dashboard automatically opens. Here, you can find the most relevant information and quick access to the functions included in PlentyONE Warehouse. Table 3 contains an overview of the areas that are displayed.
|
Position areas individually
You can change the order of the dashboard areas according to your wishes. To do so, tap and hold (drag_handle) at the top right corner of each area and drag the area to the desired position. This setting is automatically saved and can be adjusted any time by carrying out the same steps. |
| Area | Symbol | Explanation |
|---|---|---|
General information |
person |
Here, you can view the name of the user who is currently logged in, the time of the last login as well as the plentyID and the URL of the system that you are accessing via PlentyONE Warehouse. |
Functions |
apps |
This area contains tiles. Each tile represents a function of PlentyONE Warehouse.
Tap on a tile for quick access to the respective function. Once you have used the functions of PlentyONE Warehouse several times, the tiles are sorted automatically. The tiles of the most frequently used functions will be displayed at the left side of this area. |
Last activities |
history |
To facilitate the overview, this area displays a list of activities that you have carried out in PlentyONE Warehouse since the last login. For example, this enables you to see how many items have been found as a result of the latest item search or how many items were included in the latest redistribution. |
In addition, the dashboard offers you a way to access further settings and to open the complete list of functions included in PlentyONE Warehouse. To do so, tap on the menu icon () in the top left corner.
|
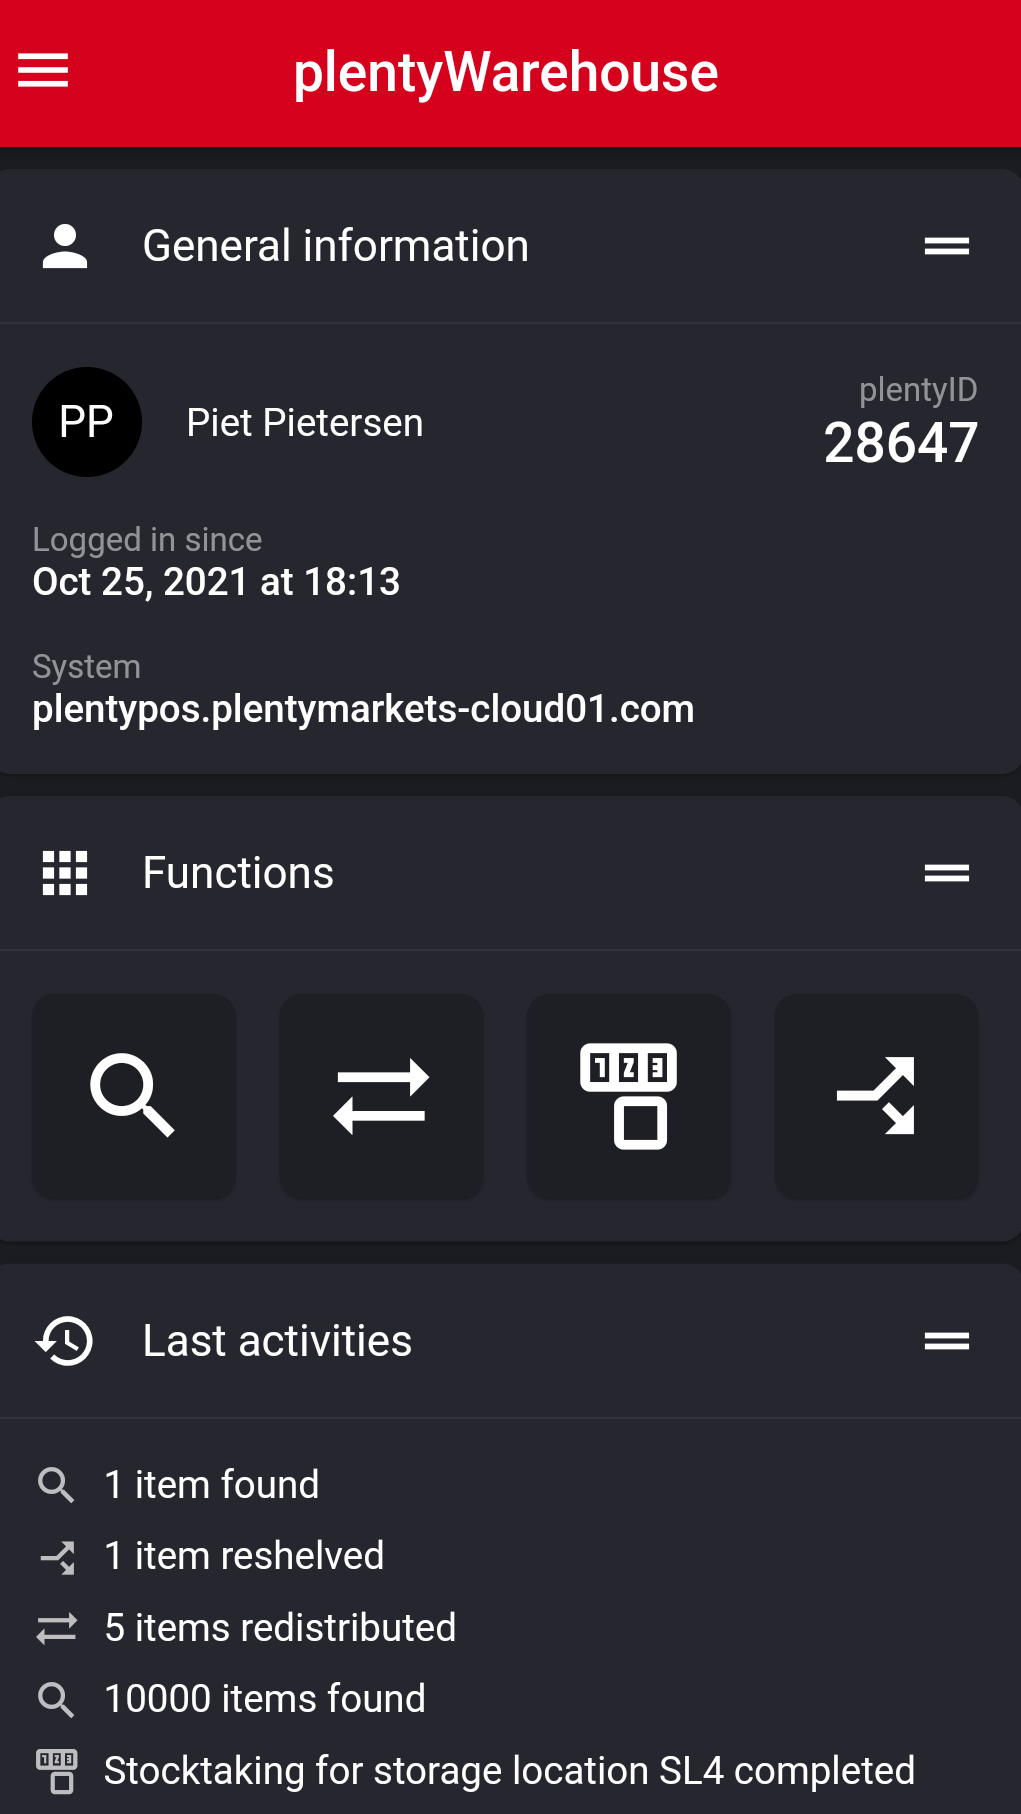
Different themes
Depending on the settings of your mobile device, PlentyONE Warehouse is displayed in light mode or dark mode. Table 4 shows you examples of what the dashboard looks like in the respective mode. |
| Light mode | Dark mode |
|---|---|
|
|
5. Carrying out general settings
Before you use PlentyONE Warehouse in your warehouse for the first time, we recommend carrying out a number of basic settings. These settings make working with PlentyONE Warehouse much easier because they apply to all functions. Of course, you can always change these general settings later in case your requirements change.
|
Pay attention to required rights
By default, the settings described below can only be carried out by users with roles of the type Administrator. If other app users are supposed to see and edit the settings, administrators have to assign the respective rights in the PlentyONE back end. To do so, open the respective role in the Setup » Account management » Roles menu and activate the desired rights for the Settings option in the PlentyONE Warehouse area. |
Carrying out general settings:
-
Tap on the menu icon () in the top left corner.
-
Tap on Settings (settings).
→ The settings menu opens. -
Carry out the settings via the menu entries in the General settings area. Pay attention to the explanations given in Table 5.
| Setting | Explanation | ||||||
|---|---|---|---|---|---|---|---|
Display aspect_ratio |
|
||||||
plentyBase |
This menu entry allows you to set up a connection to plentyBase. This connection is required if you want to use PlentyONE Warehouse to print labels for items or storage locations. |
||||||
Other settings |
|
6. Setting up text to speech functionality
PlentyONE Warehouse comes with an integrated text to speech functionality. This means that while you are using PlentyONE Warehouse, important information is not only shown on the display but also communicated using the device speakers.
You can flexibly decide for each function if the text to speech output should be activated. In addition, you can determine the degree of detail of the information included in the text-to-speech output.
Setting up text to speech functionality:
-
Tap on the menu icon () in the top left corner.
-
Tap on Settings (settings).
-
Tap on Text to speech (
 ).
).
→ The settings menu opens. -
Activate () the option Text to speech.
-
Open the individual areas () for each function to carry out the desired settings. Pay attention to the explanations given in Table 6.
Item information |
Which item information should be included in the text to speech output? Select the information that is most important for you and your warehouse staff. The options Variation ID, Variation name and Variation number are available. If no item information should be included in the text to speech output, select the option No selection. |
Confirmation |
How detailed should the information be in case the text to speech output confirms an action? |
Instruction |
How detailed should the information be in case the text to speech output confirms an action? |
7. Exporting settings
PlentyONE Warehouse offers you to export existing settings to a new device. To do so, you need to generate a QR code within PlentyONE Warehouse. Then, you can scan the code or save it as an image on your device for later.
|
Limited memory capacity of the QR code
It may occur that the selected settings reach the memory capacity of the QR code. In this case, all toggles that are not activated yet can’t be activated. Deactivate toggles to free up memory. |
Proceed as follows to export settings:
-
Tap on the menu icon () in the top left corner.
-
Tap on Settings (settings).
→ The settings menu opens. -
Tap on Export settings (material:qr_code).
→ The export menu opens. -
Select all settings that you want to export.
-
Tap on material:qr_code Generate QR code.
→ QR-Code gets generated and opens. -
Scan the QR code with the other device to import the settings.
|
Saving the QR code as image
If you tap on Wenn material:qr_code Save QR code, you save the QR code as image in your gallery.
PlentyONE Warehouse needs permissions to access your gallery to save the QR code as an image. When tapping material:qr_code Save QR code you will be asked for the permissions. This way you can save the QR code, if you need access to it later. |
8. Viewing app information
Do you need help or are you looking for information on the version of PlentyONE Warehouse that is currently installed on your device? Tap on the menu icon () and then on About to view this kind of information.
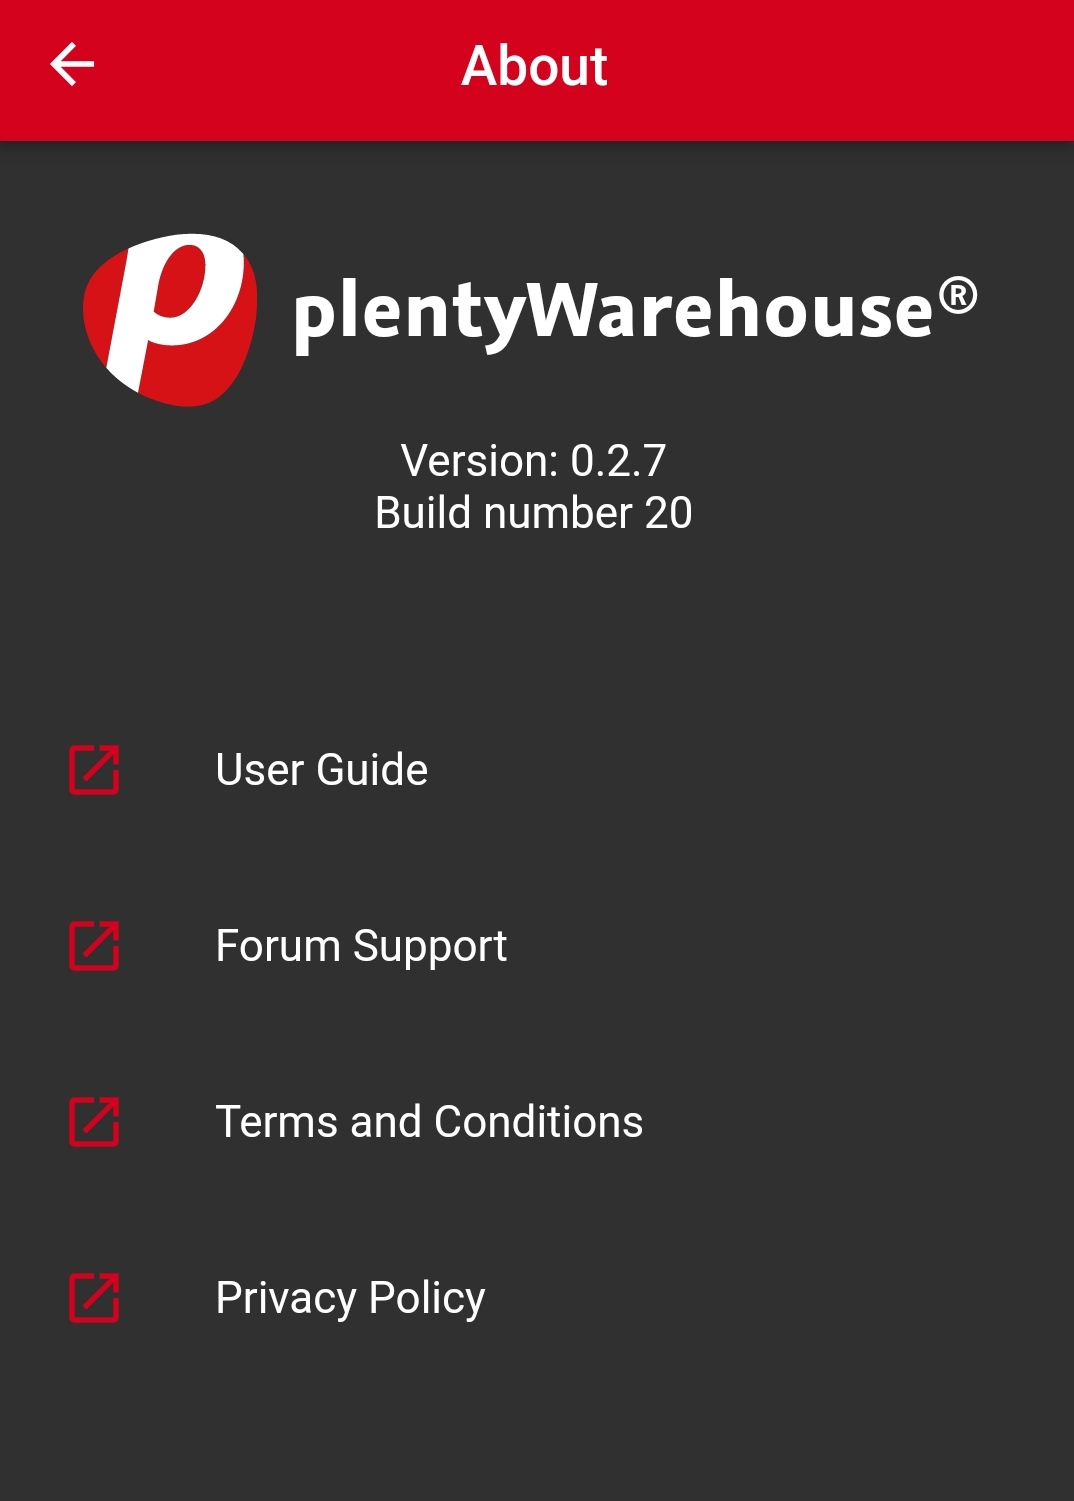
Tap on the respective links to access the user manual, receive support in the forum or see legal information.
9. Logging out of PlentyONE Warehouse
Proceed as described below to log out of PlentyONE Warehouse.
Logging out of PlentyONE Warehouse:
-
Tap on the menu icon () in the top left corner of the app.
-
Tap on Logout (logout).
→ The Logout window is displayed. -
Confirm that you really want to log out.
Note: You need to enter all login details again for the next login.
→ You are logged out of PlentyONE Warehouse.